Chuyển đến nội dung chính

Kids Craft: Kissing Bells

KissingBells wesens-art.blogspot.com
This is what I have done with my 4,5 years old granddaughter 
and it was so easy! 
What you need: 
small clay flower pots 
acrylic paint 
paint brush 
lipstick or Stabilo Woody 3in1 
wool 
ribbon 
wooden beads 
scissors 
mistletoes 
Dies hab ich mit meine 4,5 Jahre alten Enkelin gemacht, 
und es ging ganz einfach! 
Was man braucht: 
kleine Tontöpfe 
Acrylfarbe 
Pinsel 
Lippenstift oder Stabilo Woody 3in1 
Wolle 
Schleifenband 
Holzperlen 
Mistelzweige
KissingBells 1 wesens-art.blogspot.com
Paint the pots with white acrylic paint and let it dry. 
Die Töpfe mit weißer Acrylfarbe bemalen und trocknen lassen. 
KissingBells 2 wesens-art.blogspot.com
 Let your kids kiss the pots. 
Die Kinder die Töpfe küssen lassen. 
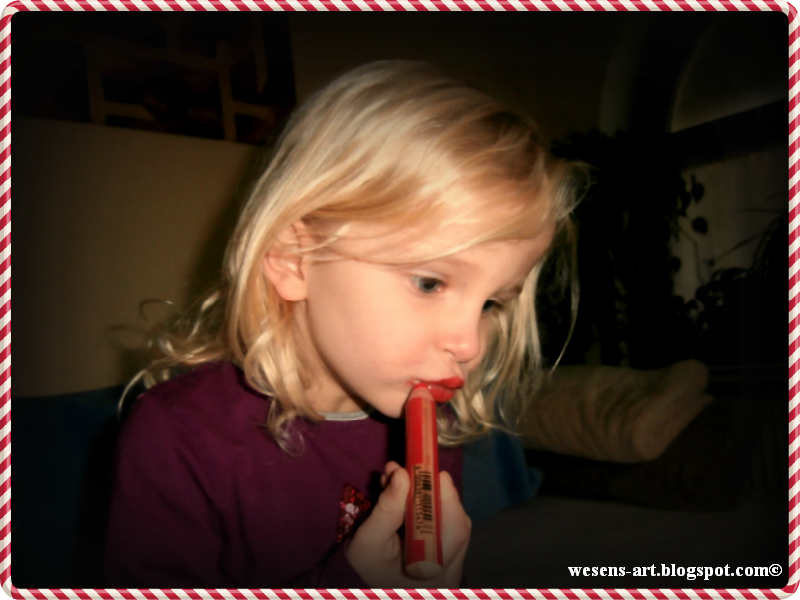
KissingBells 3 wesens-art.blogspot.com
Cut some stripes of the wool, pull it through the wooden beads and knot it as shown in the next photo. 
Then tie a bow on the pot.

Einige Stücke von der Wolle abschneiden, durch die Holzperlen fädeln und verknoten, wie auf dem nächsten Foto gezeigt. 
Dann eine Schleife oben anbringen.
KissingBells 4 wesens-art.blogspot.com
Tie a small mistletoe on it and it's done! 
Einen kleinen Mistelzweig anbinden und fertig! 
KissingBells 5 wesens-art.blogspot.com
KissingBells 6 wesens-art.blogspot.com

Visit and like me on Facebook!


Attention! It is not allowed to copy or use my posts, photos, pattern, templates or files for business or selling!!!
Wichtig! Es ist untersagt, meine Beiträge, Fotos, Schnittmuster, Vorlagen oder Dateien zu kopieren oder gewerblich oder zum Verkauf zu nutzen!!!
I’m sharing my projects with these fabulous linky parties: look here!
...

Nhận xét

Bài đăng phổ biến từ blog này

3D Paper Pumpkins - Free Patterns

I've been having a lot of fun “carving” my pumpkins this year! I've designed a round, tall, and wide version, complete with stem, twirling vine, and leaf. They're waiting to greet my little tricksters and I can't wait to give this threesome   in their treat bag to assemble themselves. I've mentioned one of the things that was topmost on  Craftsy 's agenda for me as an instructor, was to ensure my classes taught skills the students could then use in other projects. In Lesson 1, I show how to make a 3D Christmas Tree and wanted to show you how easy this technique is to apply in so many ways. Although my step-by-step instructions are not as interactive as watching the Craftsy lesson, you'll get a taste of it anyway. As with the tradition of Halloween trick-or-treating, I thought it would be a fun for you all to go to different houses to collect your treats and learn what else is in the land of paper ingenuity. House #1 - Round Pumpkin Jin Yong's house is  U...

Quilling Letter O Tutorial - Wreath

How to join two quilling strip ends when there is no corner For me, the letter O is the hardest letter of the alphabet because there are no corners or straight sides to hide the join. In this tutorial video, I'll share my techniques for making seamless join. Supplies Canson Mi-Teintes 160 gsm paper (I cut my own) http://amzn.to/2zpVAg2 Aleene’s Original Tacky Glue:  http://amzn.to/2i9qA9u Fine Tip Glue Bottle: http://amzn.to/2BbfZ8L Bazzil, Rain Forest 12x12 inch scrapbook cardstock, cut to 12x6, scored to fold to 6x6 inches Cambric 80 lb Cover, Ivory, 8.5x11 sheet, cut to 5.5x5.5 inches (this is probably the most common type of card size I tend to make because I’m not wasting much and using up both sheets efficiently. You can prepare 2 cards the same way using this method and save time for future cards) Quilling As usual, we start by softening the strip and follow the template as closely as possible. Keep softening/adjusting the paper until it's following the template . Some o...

Quilled knee cross-sectional anatomy

Impressed with the work of Lisa Nilsson , I decided to try my hand at anatomical quilling, too. A few months ago my husband had a problem with his knee and I made ​​a small gift for his orthopedist — this quilled knee cross-section. Read more »