
You may have seen me use this fine-tip glue bottle before. It allows me to put down a thin line of glue on a piece of plastic. After the glue dries, I can easily flake it off and re-use the plastic again. I got mine at Michael's years ago, but haven't seen it around in a while. I've seen a similar bottle sold by Quilled Creations. I typically use Aleene's Acid-free Tacky Glue because it's thick and dries clear, quickly.

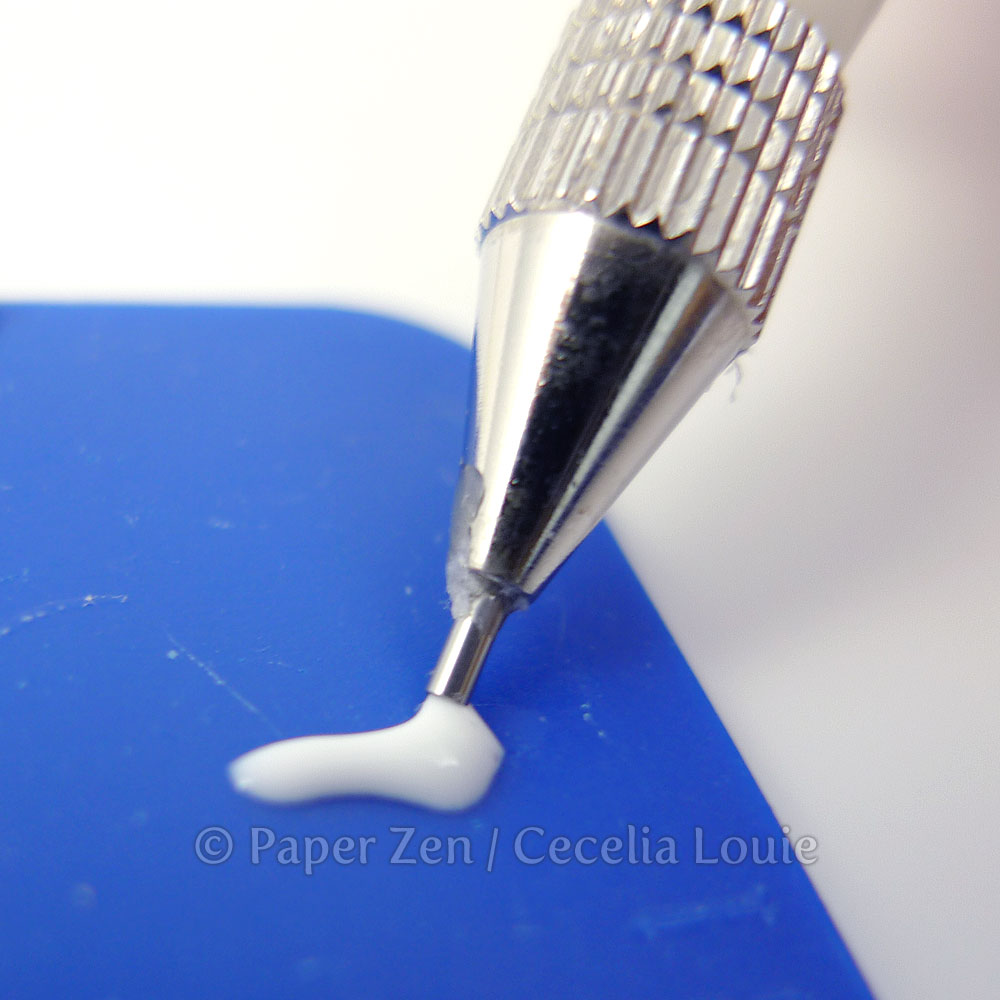
Then I simply "skinny dip" my end into the glue line and voila! It's very easy to control this way because the depth of my glue is extremely shallow. Just let the end kiss the glue. There is no need to jam it into the glue until you touch plastic.

This glue dries quickly, so here is a shot of the end when the glue is starting to thicken. The bead is wider. At this point, I am debating whether to use it or not. The glue seam will be more visible. So I would pinch off the glue with a tissue and re-dip with fresh glue.

By the way, the paper shown here is Canson Mi-Tientes, #507 Violet, 160 gsm, 1/4" wide.
I am a listener of Monica Lee's podcast show "Smart Creative Women". Her guest, Jennifer Lewis, explains how she decided to paint for half an hour every day, and how it became a practice for her.
I am often asked "How long did that take?" Unfortunately, I have a difficult time answering that because I lose track of time so easily. Any quiller can tell you a large project is meticulously constructed over many days or weeks. I'm often tempted to buy an old fashioned sandglass! Does anyone have a good way of monitoring themselves?
So I thought I'd try to quill for half an hour every day and see how far I got. 10 minutes into it, I thought "I wonder if anyone wants to know about how I do this part?" 2 days later...prepping, photographing, color corrections, oops – not the right focus, re-photograph... I'm finally starting to post the first few steps of this typography project.

Here's a sneak peak of the next tutorial.
Some of the wonderful feedback I've gotten for my book, Pretty Quilled Cards, and for my Craftsy class, Quilled and Sculpted Cards (ALL classes are $19.99 and under until Nov 30 – best deal of the year!), shed light on the fact that I take my often detailed brain for granted. I know not everyone is as into the minutiae as I am, but those who are, these next few project posts are for you.
As always, I'm grateful for the time you take to leave you kind comments – I re-read them to keep inspired!
Cecelia

Nhận xét
Đăng nhận xét